Setup VPN Server on Mac: A Comprehensive Guide
In a digital world where privacy and security have become paramount, establishing a Virtual Private Network (VPN) server on your Mac can be one of the best defenses against cyber threats. This guide covers everything you need to know to setup a VPN server on Mac, providing you with step-by-step instructions, insightful tips, and a clear understanding of the benefits associated with using a VPN. Whether you're looking to safeguard your personal information or enhance your internet browsing experience, setting up a VPN server is a fantastic solution.
Understanding VPN and Its Importance
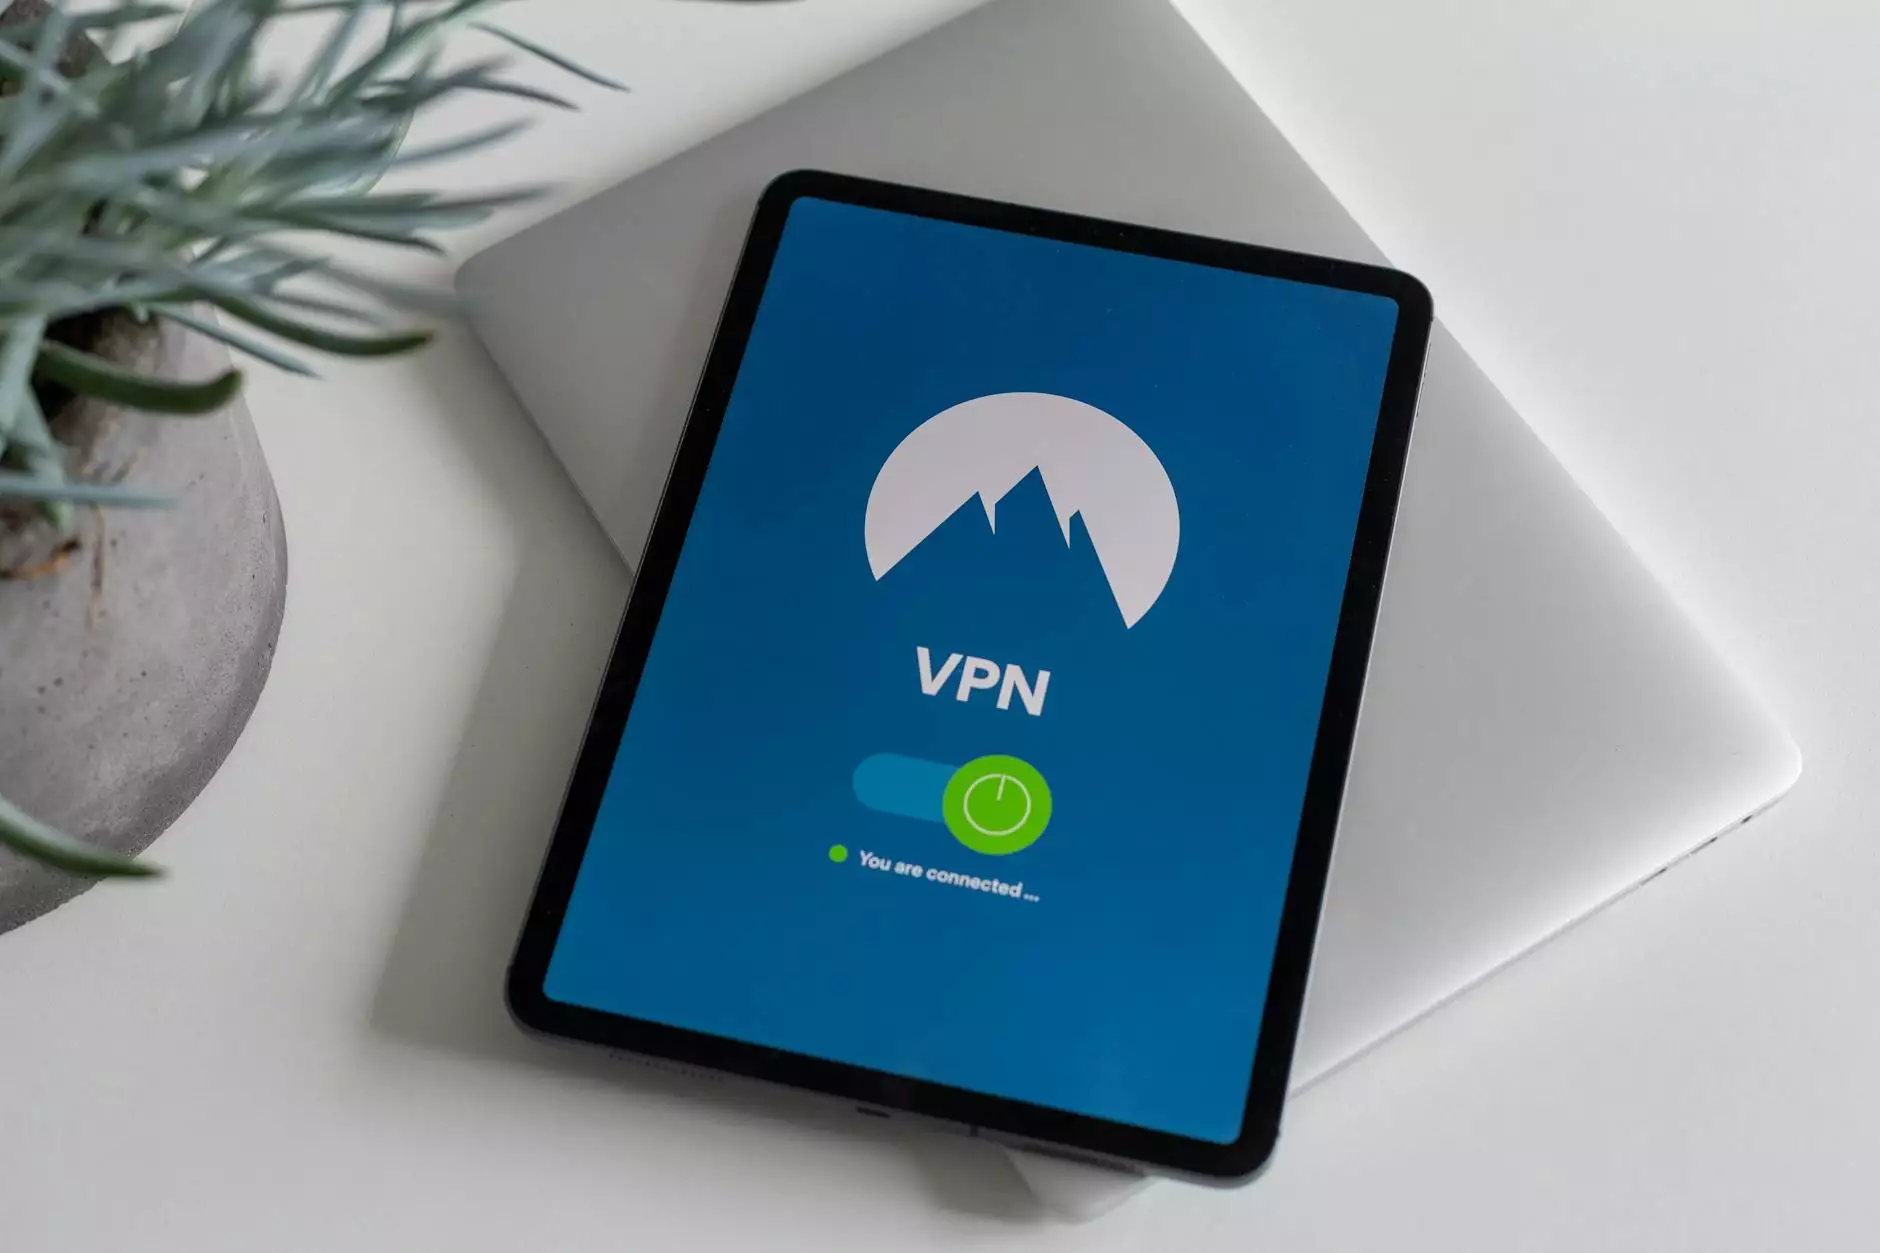
A Virtual Private Network (VPN) allows you to create a secure connection over a less secure network, such as the Internet. Essentially, a VPN routes your internet connection through a private server, masking your IP address and protecting your sensitive data from hackers and other prying eyes. Here are some of the key reasons why having a VPN is essential:
- Enhanced Security: A VPN encrypts your internet traffic, making it difficult for cybercriminals to intercept your data.
- Privacy Protection: It hides your online activities and location, ensuring your browsing habits remain private.
- Access to Restricted Content: A VPN can help you bypass geo-restrictions to access content from anywhere in the world.
- Safe Remote Access: A VPN allows users to connect safely to a remote network from any location.
Benefits of Setting Up a VPN Server on Mac
Setting up a VPN server on a Mac comes with numerous advantages:
- Control: You gain more control over your data and network traffic.
- Cost-Effective: It can be more affordable than subscribing to a commercial VPN service, especially for small businesses.
- Custom Configuration: Tailor the VPN settings to meet your specific needs and requirements.
- Data Accessibility: Access files and applications remotely with a secured connection.
Prerequisites for Setting Up a VPN Server on Mac
Before you dive into the setup process, make sure you have the following:
- A Mac computer running OS X 10.7 or later.
- A stable internet connection.
- Basic understanding of networking concepts.
- Administrative access to your Mac.
Step-by-Step Guide to Setup VPN Server on Mac
Step 1: Accessing System Preferences
First, you need to open your System Preferences. This can be done by clicking the Apple menu in the upper left corner of your screen and selecting System Preferences.
Step 2: Opening the Sharing Preferences
Within System Preferences, find and click on the Sharing icon. This is where you can enable various sharing services, including the VPN server.
Step 3: Enabling VPN Sharing
In the Sharing menu, you will observe a list of services on the left sidebar. Look for Internet Sharing. To turn it on, you need to check the box next to it. After doing this, you will see various options on the right.
Step 4: Configuring Internet Sharing
Now, you need to configure the settings for Internet Sharing:
- Select the Share your connection from dropdown and choose the network connection you are currently using (e.g., Wi-Fi, Ethernet).
- Then, in the To computers using list, check the box next to VPN (L2TP).
- Click the Options… button to configure the VPN settings, including your VPN’s username and password.
Step 5: Setting Up VPN Account Authentication
Once you have the Internet Sharing enabled and configured, it is time to set up user authentication:
- Go to the Apple menu, then System Preferences, and click on Network.
- Select Add (+) at the bottom left to create a new network connection.
- Choose VPN from the drop-down menu, then select VPN Type (typically L2TP).
- Fill in your VPN Provider details and enter the server address given by your VPN provider.
Step 6: Configuring VPN Settings
To finalize your setup, you must configure the advanced settings:
- Click on Authentication Settings... and input your username and password.
- Optionally, you may enable Send all traffic over VPN connection for better security.
- Lastly, click on Apply to save your settings.
Troubleshooting Common VPN Issues
After successfully setting up your VPN server on Mac, you may encounter some common issues. Here are a few troubleshooting tips:
- If you cannot connect, double-check your username and password for accuracy.
- Ensure that the Internet Sharing service is actively running in the Sharing preferences.
- Confirm your router configurations to ensure they allow VPN traffic through.
- Restart your Mac and router to refresh the network settings.
Maintaining Your VPN Server
After successfully establishing your VPN server, regular maintenance is crucial. Here are tips for maintaining your VPN server:
- Update your Mac regularly to ensure you have the latest security patches.
- Periodically change your VPN passwords for enhanced security.
- Monitor your VPN connection for any unusual activity.
Conclusion
Setting up a VPN server on Mac is a powerful step towards enhancing your digital security and ensuring your privacy when browsing the internet. With a VPN, you can confidently navigate online, access geo-restricted content, and protect your data from malicious actors. Follow this comprehensive guide carefully, and you will have your VPN server configured in no time.
For more information on VPN services and telecommunications, visit ZoogVPN and grab the latest tips and insights on securing your online presence.